


Updated : revised to clarify configuration-specific planning and artwork requirements.
Build artwork using the templates for the exact display and each printed panel. Confirm the required document dimensions, bleed, safe areas, color setup and export instructions in those templates. There is no universal bleed or safe-zone measurement that fits every SEGO configuration.
Map every panel before designing
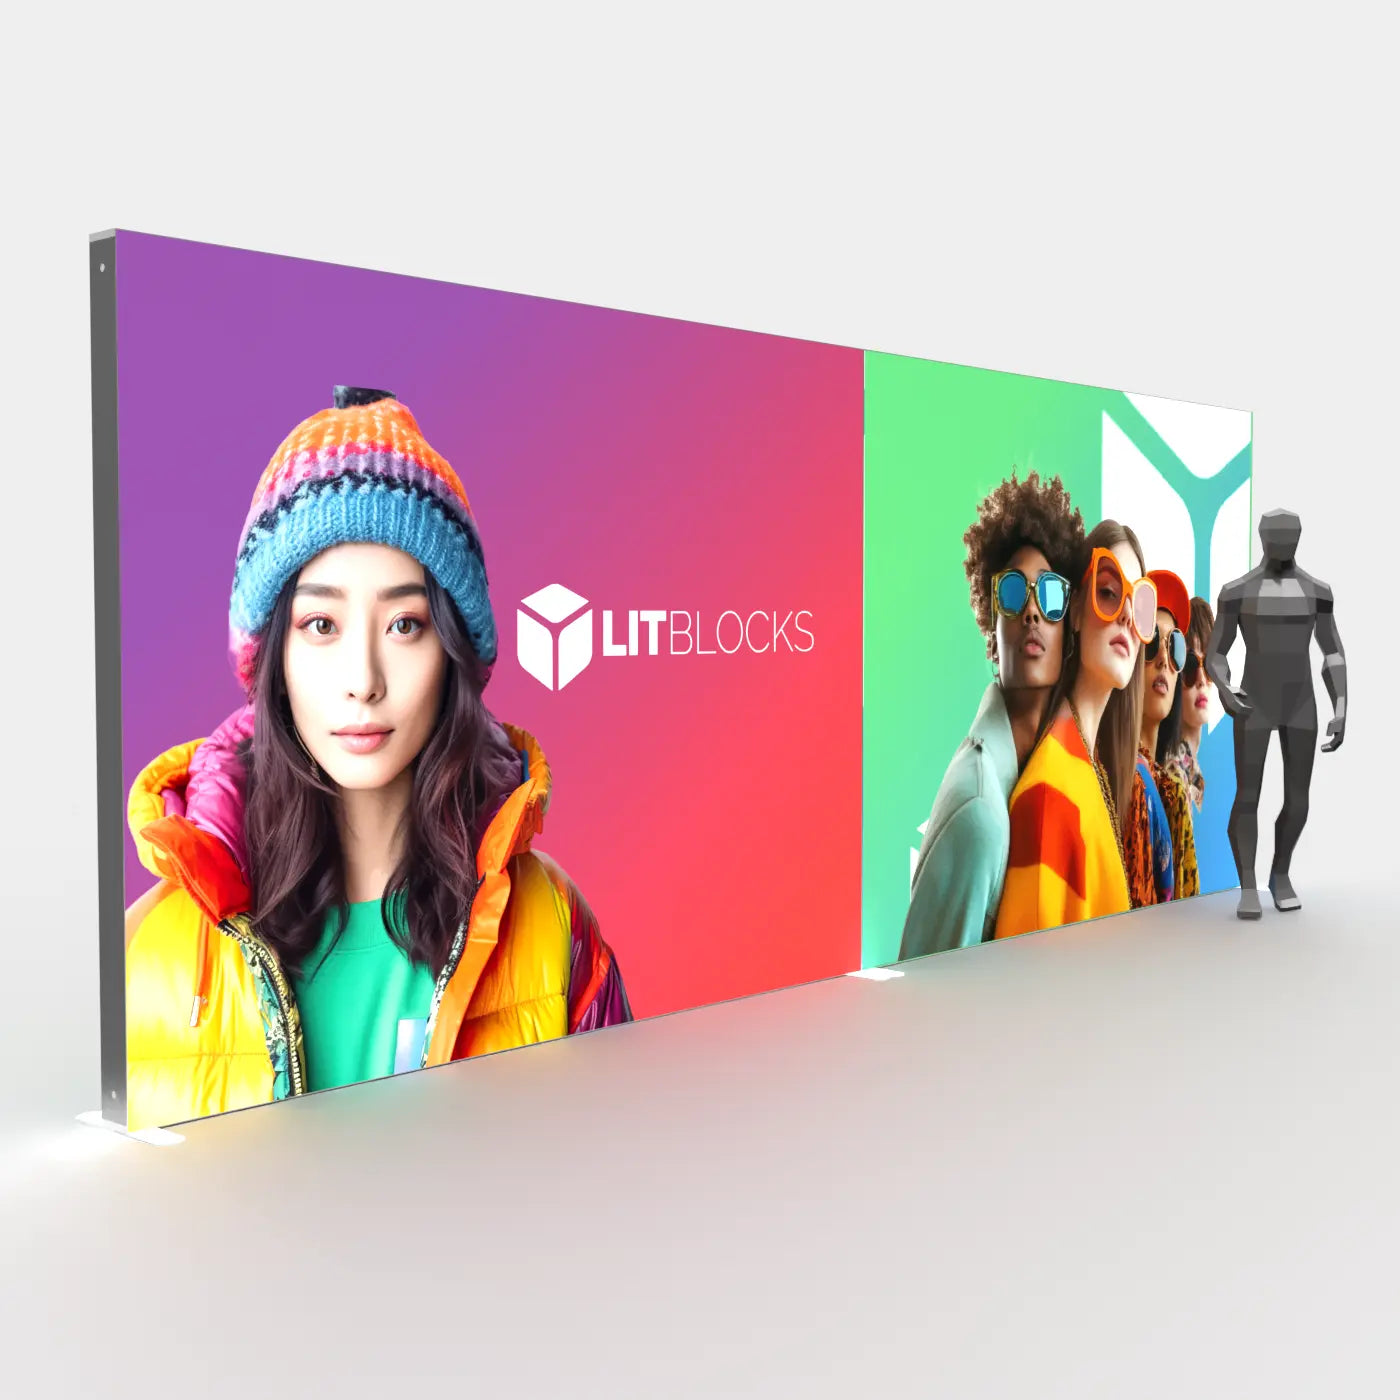
List panel positions, widths, heights and printed faces. Panels in one display can have different dimensions. Use a small layout reference to show which file belongs to which panel and side.
- Download the correct template for every graphic.
- Keep panel-specific dimensions; do not divide the total booth width into equal panels by assumption.
- Keep logos, faces, QR codes and critical text away from panel breaks.
- Submit panel files as specified by the templates and label them clearly.
- Include a combined layout preview when artwork continues across neighboring frames.
Check the source artwork
Use vector logos and high-quality original photographs. Evaluate image resolution at the final printed size and follow the template's requirements if working at scale. Enlarging a low-resolution image does not restore detail. Outline fonts or provide the required source assets so the layout does not change.
Use the template's finishing instructions
Match the bleed and safe zones shown on the template. Do not substitute a generic two-inch bleed or move template dimensions to the visible frame edge. Check whether crop marks, template guides and other production elements should appear in the final export.
Set realistic expectations for dark colors
Black is commonly used in backlit artwork, but printed fabric still transmits light. Illuminated black may appear dark gray or have a color cast. A richer ink build does not guarantee an opaque or jet-black result. Ask about the selected printing process rather than using a universal black formula.
Check both faces and all breaks
Supply separate clearly identified artwork for each printed face. Do not mirror text for the reverse side. Verify the selected display's graphic and backing arrangement rather than assuming every double-sided frame uses the same construction.
Review the proof before production
Check panel order, dimensions, text, monitor placement and the relationship between neighboring graphics. A layout proof helps verify placement; it does not reproduce the finished illuminated color exactly.
Use the LitBlocks artwork guidelines and submission checklist, then upload the files. If a template or panel map is unclear, ask before preparing the final exports.
Share:
AI Trade Show Booth Design: From Concept to Print-Ready Artwork
AI Trade Show Booth Design: From Concept to Print-Ready Artwork