


For print-file specifications, use the technical artwork requirements. For composition, use design best practices, then complete the submission checklist with the exact product templates.
Can you use AI-generated artwork on a trade show display? Yes—if the finished files meet the requirements for the display you order. AI can help explore a visual direction, develop a background or sharpen a message. Before printing, the design still needs accurate brand assets, sufficient image detail, the correct panel templates and an approved proof.
The useful question is how to turn the image you like into a booth that fits your space, represents your company accurately and looks good when illuminated. Here is a practical way to get there.
Decide what job you want AI to do
A generated booth rendering, a background image and a finished graphic file serve different purposes. Identify which one you have before you start ordering.
- Booth concept: use it to discuss the layout, atmosphere and priorities. Confirm the actual display components separately.
- Artwork element: consider a generated illustration, texture or background as one part of the design. Check its quality at the size it will occupy.
- Message exploration: use AI to propose headline options, then choose and verify the wording yourself. Product claims, contact details and spelling need human approval.
For example, an abstract background may work well behind your real logo and a short headline. A generated photograph of your product needs much closer scrutiny: an invented button, connector or feature can misrepresent what you sell.
Choose real display hardware before finalizing the design
Start with your booth footprint, the organizer’s height and layout rules, your budget and the activities you need to support. Then select the display configuration and confirm its dimensions, included components and accessory compatibility.
If your concept includes a monitor, shelving, a bridge or storage, check whether the selected system supports those features. A persuasive rendering cannot establish mounting capacity, structural support, electrical requirements or usable floor space.
When sharing a concept, identify the two or three features that matter most. “An illuminated backdrop, a clear product message and room for a demo” gives the project a useful direction without making every invented detail a requirement.
Design the whole layout, then prepare each panel
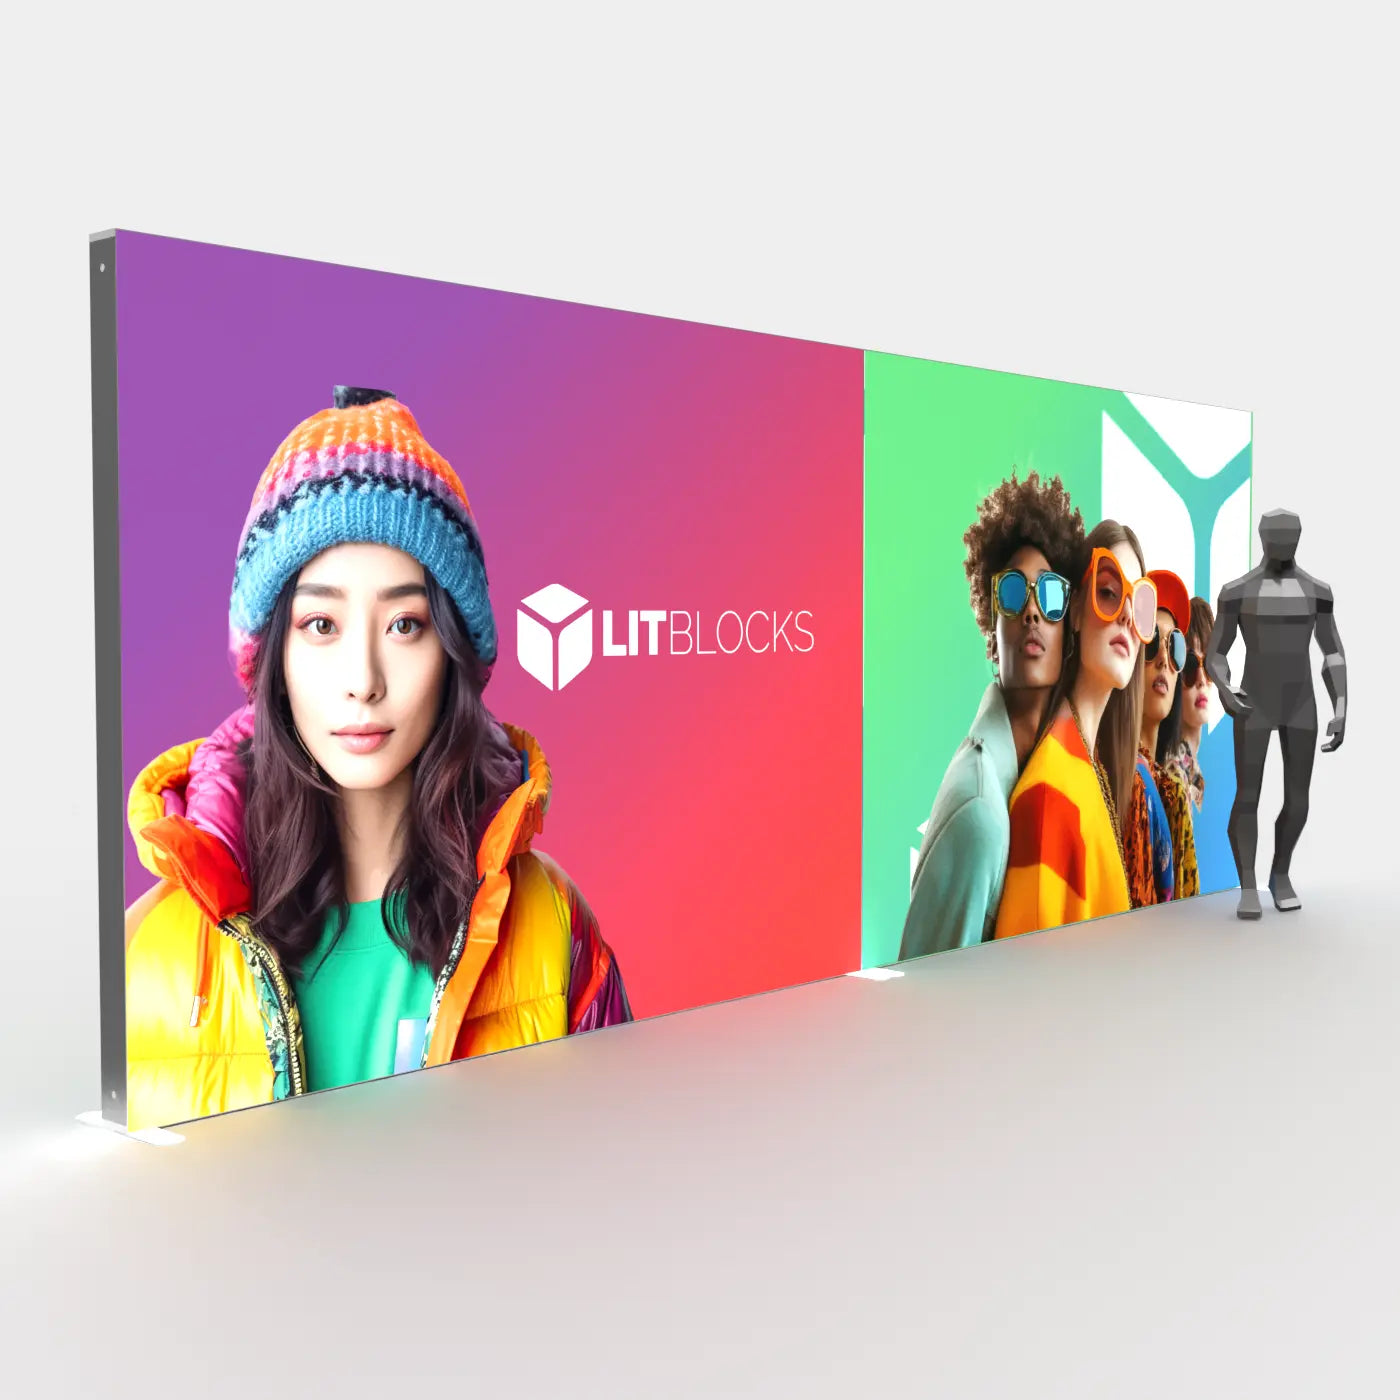
A modular SEGO display can contain panels with different widths and heights. A 10 × 10 booth footprint does not tell you the dimensions of its printed graphics, and a wall made from three frames does not necessarily need three equal artwork files.
Map each printed face using the selected product’s templates. Identify the panel position, dimensions and front or reverse side before placing artwork. For a continuous composition, keep a full-layout preview alongside the individual production files.
Consider a layout with a tall main panel and a shorter side panel. If an AI image places a person across both, the change in height and the break between frames may interrupt the face or body. Move the subject onto one panel and let a simpler background carry across the adjoining area.
Keep headlines, logos, faces and QR codes away from panel breaks. Connected frames still have visible seams, and a monitor may cover part of the artwork. Follow each template’s bleed and safe-area instructions rather than applying one generic measurement to the entire booth.
Use the templates on your selected product page and review the LitBlocks artwork guidelines before preparing final files.
Check actual pixels at the intended print size
“High resolution,” “4K” and “300 DPI” in a prompt do not establish the quality of the exported file. For a raster image, examine the pixel dimensions and how large the image will appear in the finished graphic.
Effective pixels per inch = image width in pixels ÷ placed width in inches. A 3,000-pixel-wide image placed 60 inches wide has 50 pixels per inch. That is an illustration of the calculation, not a LitBlocks minimum-resolution specification. Use the requirements for your exact template and have the file reviewed.
Changing the resolution label without resampling does not add pixels. Enlarging or using an AI upscaler can change the pixel count, but it does not prove that fine detail is accurate. Inspect the result for distorted objects, strange edges, repeating patterns and altered lettering.
If an image struggles at wall size, consider using it in a smaller area, simplifying the composition or replacing it with a better source. A large background does not need the same visual detail as a close-up product photograph.
Build logos, text and QR codes separately
Keep your original logo, approved wording and functional elements independent of the generated background. This makes them easier to check, resize and position on the correct templates.
- Logo: use the original vector asset when available. Putting a small raster image inside a PDF does not turn it into vector artwork.
- Text: typeset and proofread the final copy in the layout. Verify names, numbers, URLs and every claim about your product.
- QR code: create it from the actual destination URL. Preserve clear space around it and test it from a representative printed sample; a generated pattern that resembles a code may not work.
Use authentic photographs when visitors need to see your actual product, team or facility. A generated scene can communicate a mood, but it should not be mistaken for evidence of something your company has built or delivered.
Allow for how backlighting changes the result
An AI rendering can show a luminous wall with perfectly saturated color and deep, opaque black. Printed fabric illuminated from behind can look different. Black may appear dark gray or carry a slight color cast, and a screen preview cannot guarantee the finished color.
Build strong contrast around the headline and logo. Avoid relying on subtle differences between dark tones to make essential information readable. Discuss critical brand-color expectations before production and use the backlit artwork design guidance when reviewing your layout.
Try a prompt that leaves room for your real brand
Create an abstract background concept for an illuminated trade show graphic. Use [brand colors] and a [visual style] mood. Leave a calm, uncluttered area at [position] for a headline and logo that will be added separately. Keep important subjects away from the edges. Include no text, logos, QR codes or product representations. This is a visual concept; the final artwork will be adapted to actual display templates.
Replace the bracketed details with your brief. Ask for a composition suited to the panel you are designing, then evaluate the actual export. A more specific prompt can improve the starting point; it cannot confirm print readiness.
Send a complete package for artwork review
Gather these items before submitting your design:
- The selected display or product link, booth size and required arrival date.
- Your AI concept, with a short note explaining what you want to retain.
- Original logo files, approved text and original photographs for any real products or people shown.
- The highest-quality generated source file, plus editable layout files when available.
- Panel files prepared to the product templates and a labeled preview of the full configuration.
Check the current commercial-use terms for the AI tool and any source imagery you use. Keep the relevant license records with the project. An AI export does not establish permission to use someone else’s branding or reference material.
LitBlocks provides free artwork proofing before production. If your files need design work rather than a file check, contact us to confirm the scope, price and schedule. Do not assume a flattened concept image can be quickly converted into editable production artwork.
Review the proof before starting the delivery clock
Check the spelling, panel order, graphic sizes, printed faces, seams and monitor position on the proof. Confirm that each file corresponds to the intended panel. A digital proof helps assess layout and content; it is not an exact simulation of illuminated fabric color.
For standard LitBlocks SEGO configurations, the stated delivery window is 5–7 business days after final artwork approval. Artwork preparation and revisions happen before that window. Confirm the timing for your exact product and destination, and allow time for receiving, inspection and a test setup before your event.
Questions about AI artwork for trade show displays
Can I submit an AI-generated image to LitBlocks?
Yes. Send the original file and identify the display you are ordering. The file needs review for its intended use; a concept image alone may not contain the assets or dimensions required for production.
Will a PDF export make an AI image print-ready?
No. A PDF can still contain a low-resolution raster image. File format alone does not establish image detail, correct sizing or compliance with the selected templates.
Can one image cover several lightbox panels?
A coordinated design can span several panels, but prepare the graphics to each panel’s template. Account for different widths and heights, visible frame breaks and any artwork obscured by accessories.
Can LitBlocks reproduce my AI booth rendering exactly?
An exact match cannot be assumed. Available hardware, booth rules, usable artwork and print behavior determine the final result. Share the concept early so the configuration and artwork needs can be assessed.
Bring the idea—and the files behind it
If you already have an AI concept, send LitBlocks the image, booth dimensions and event deadline. We can discuss a suitable display and the next artwork steps. If your configuration is selected and your files are prepared, use the artwork upload page to submit them for review.
Technical reference: Adobe’s guide to image size, resolution and resampling explains the relationship between pixels and printed size. Product-specific LitBlocks template requirements govern your production files.
Share:
Artwork File Requirements for Backlit SEG Graphics: A Panel-by-Panel Checklist
Artwork File Requirements for Backlit SEG Graphics: A Panel-by-Panel Checklist