



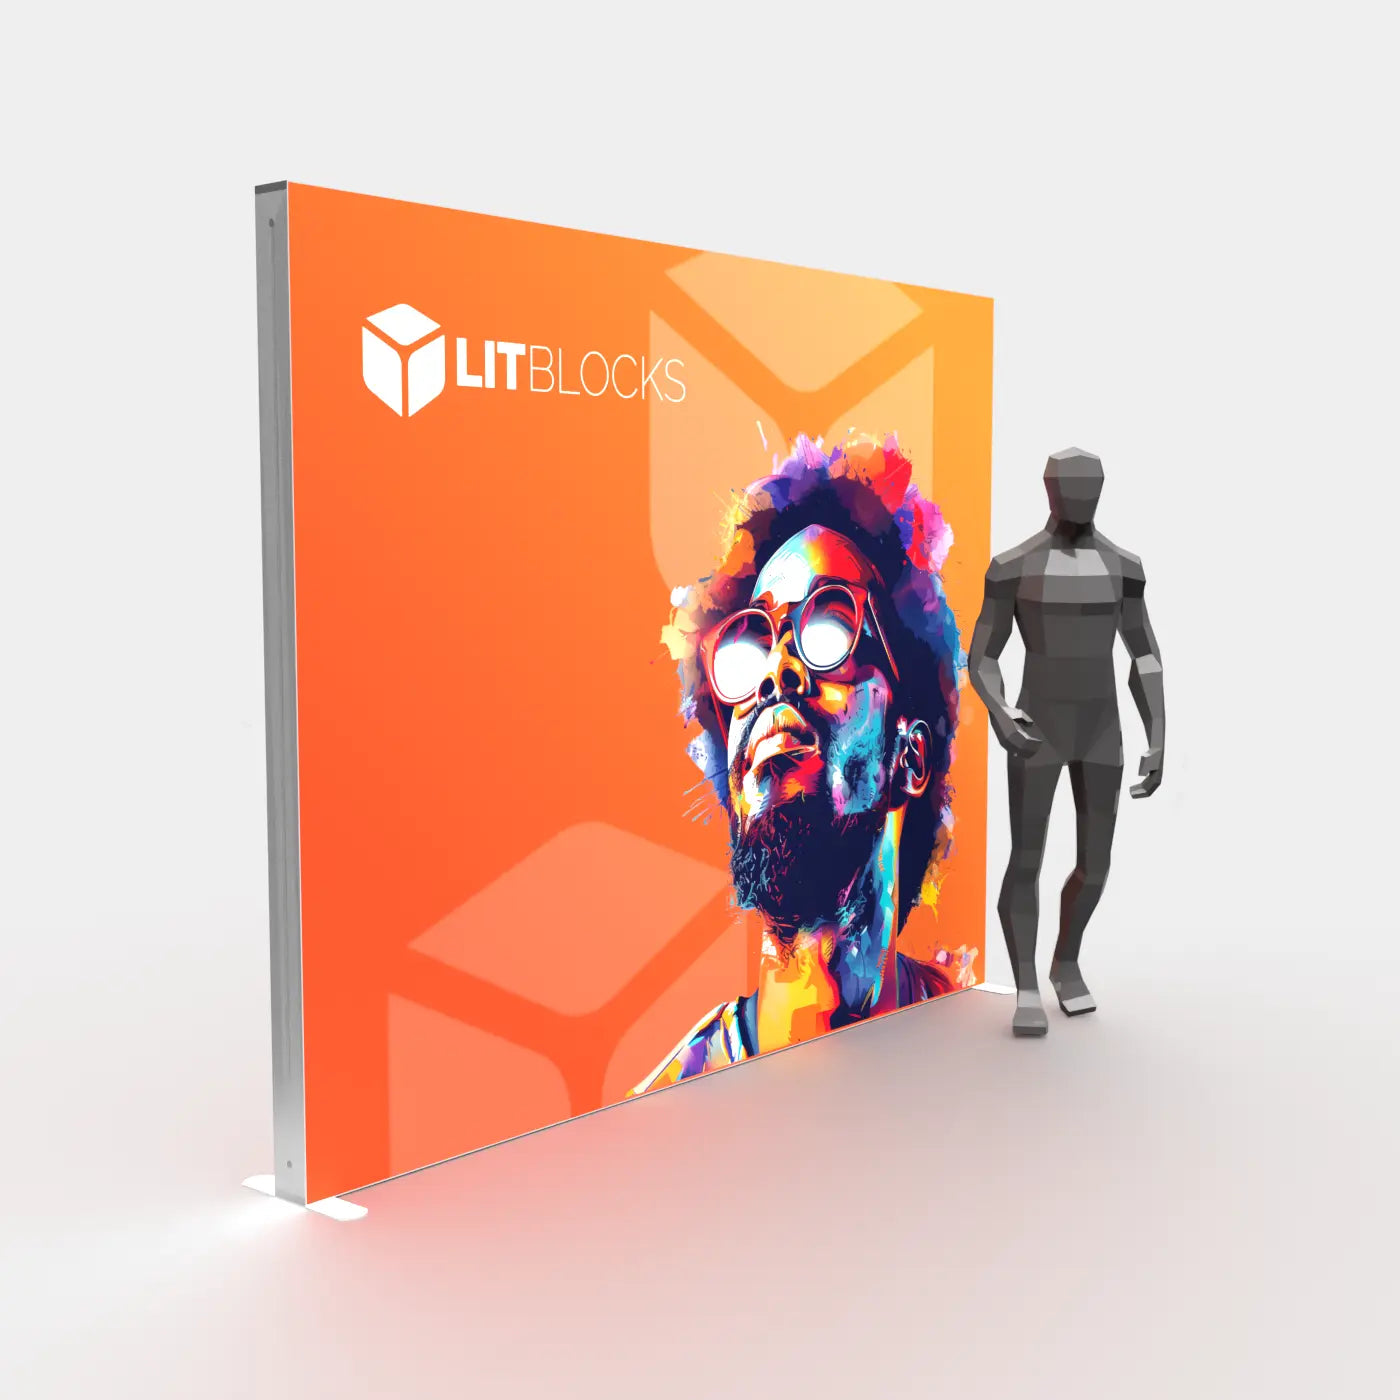
A backlit trade show display uses lighting inside a frame to illuminate a printed graphic. A SEG lightbox holds fabric graphics in a perimeter channel using a silicone edge. The display is one part of the booth; plan it together with the floor space, furniture, electrical service and event schedule.
Understand the measurements
Booth size is the rented floor footprint. Assembled display dimensions describe the structure, including its selected height. Artwork dimensions belong to each printed face and come from its exact template. A 10 × 10ft booth does not call for one 10 × 10ft artwork file.
Choose the layout by function
- Straight wall: A focused backdrop with open floor space in front.
- TV display: A compatible mount for demos or video. Check whether the monitor is included, along with mounting limits.
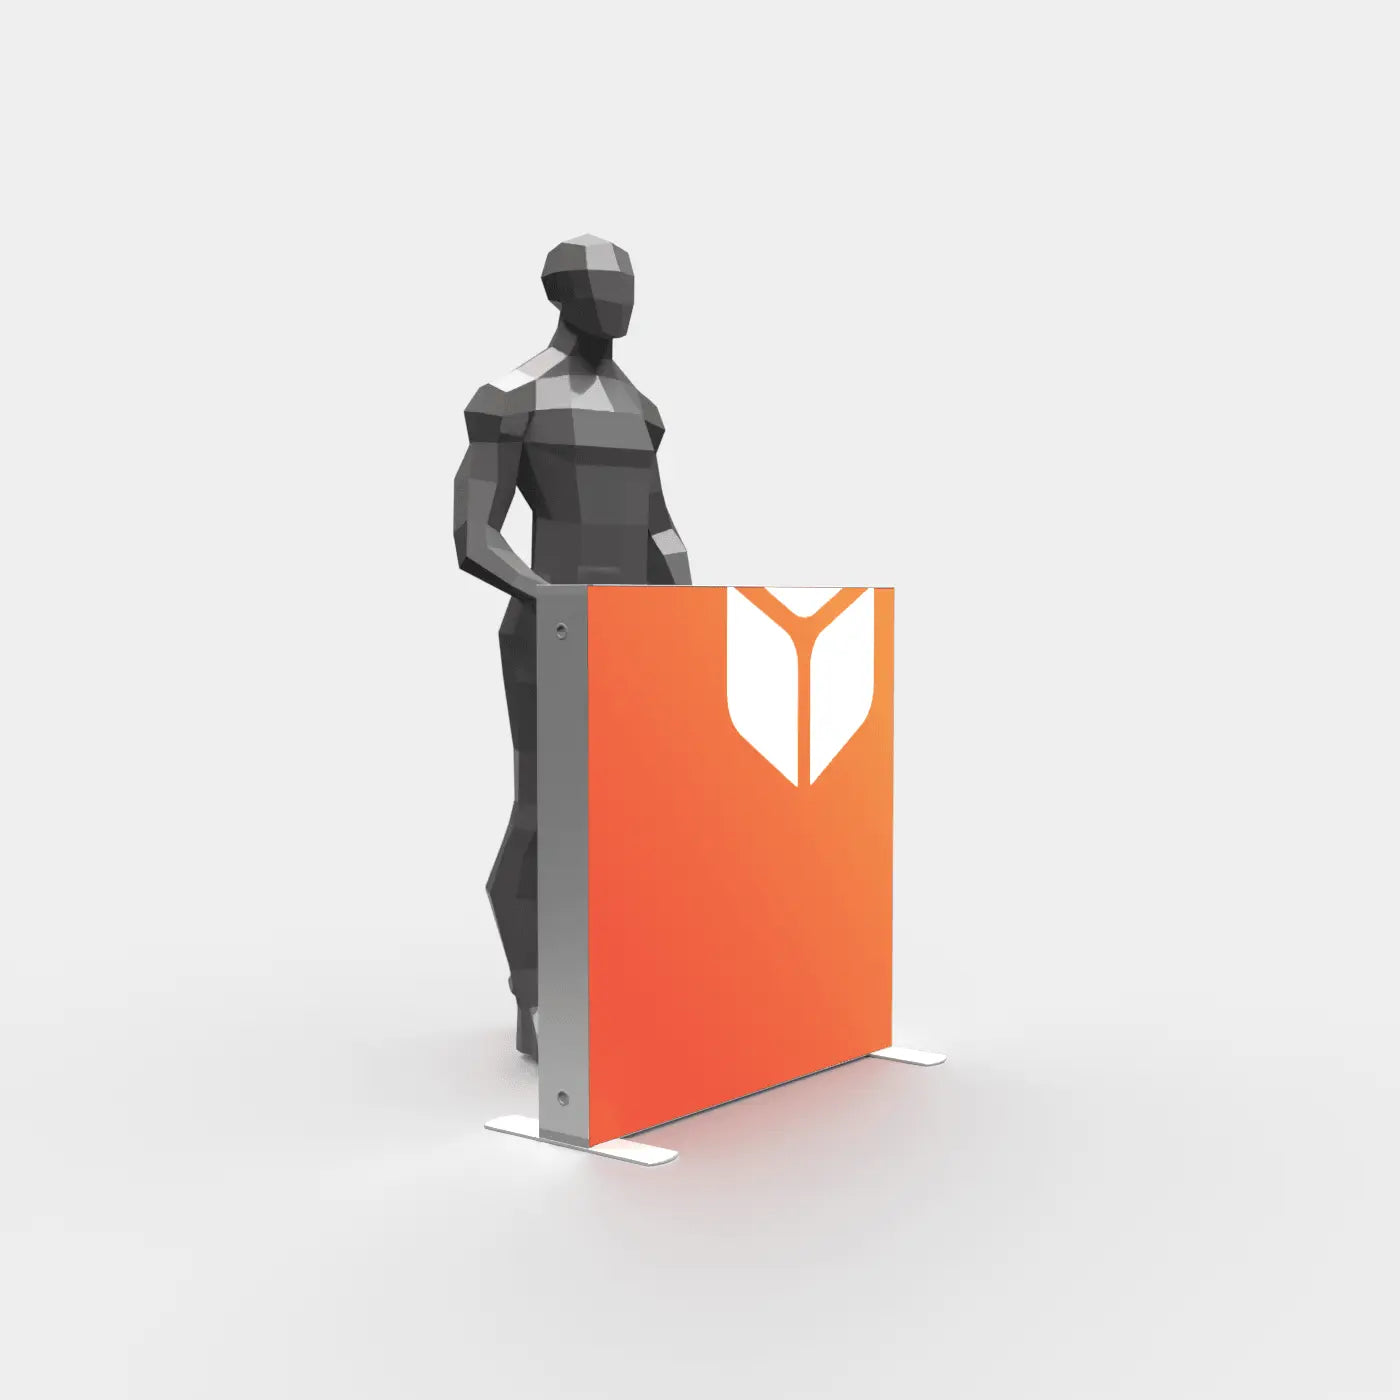
- Lower returns: Define the booth edges with half-height panels. A lower frame is not automatically a counter with a worktop.
- Arch: Adds an overhead structure. Check the full layout, assembly instructions and venue height rules.
- Closet: Adds enclosed storage; allow for the door and access.
Compare 10x10 layouts, 10x20 layouts or single panels. Read each package’s included components before comparing prices.
Plan graphics panel by panel
- Identify every printed face and download its product template.
- Keep logos, faces and important text away from panel breaks and monitor coverage.
- Label front and reverse files by panel and size.
- Prepare artwork to the technical file requirements.
- Review the complete layout proof before approving production.
Continuous artwork across connected frames still has panel breaks. Printed graphic dimensions and assembled frame dimensions are different; the template governs the print file.
Plan power from the actual equipment
Use the supplied technical sheets and transformer labels for the selected panels. Add monitors and other powered equipment, then confirm electrical service with the venue contractor. A transformer’s rated capacity and the lighting load are different quantities. Do not use one generic wattage for every display or assume that standard electrical service includes all booth needs.
Check transport and setup
Read the packed dimensions, weights and bag quantities for the package. Check the venue’s material-handling and labor rules even if the display is portable. Practice assembly before the event and identify the connectors, wiring and accessories. The main frame uses tool-free connections, while accessories and larger layouts can add steps. Plan a crew for the actual structure.
Work backward from move-in
Allow time to select the configuration, prepare artwork, review the proof, produce the graphics and ship the order. Production timing starts after final proof approval where stated, and transit is separate. Ask for a deadline check before ordering if the schedule is tight.
Compare the complete cost
Use the current 10x10 pricing guide, then add design, accessories, electrical service, transport and venue charges. Confirm shipping eligibility and warranty terms on the selected product and store policies.
Maintain and reuse the system
Follow the care instructions for the supplied graphics and lighting. Keep the original order and frame dimensions so replacement graphics and accessories can be matched. Confirm compatibility before planning a larger layout; modular frames still have specific connector and load requirements.
Need help choosing? Send your booth size, event date and required features for a configuration check.

Share:
10x10 vs. 10x20 Trade Show Booth: How to Choose Your Size
How Much Does a Backlit 10x10 Trade Show Booth Cost? (2026 Pricing Guide)