


Updated : revised to clarify configuration-specific planning and artwork requirements.
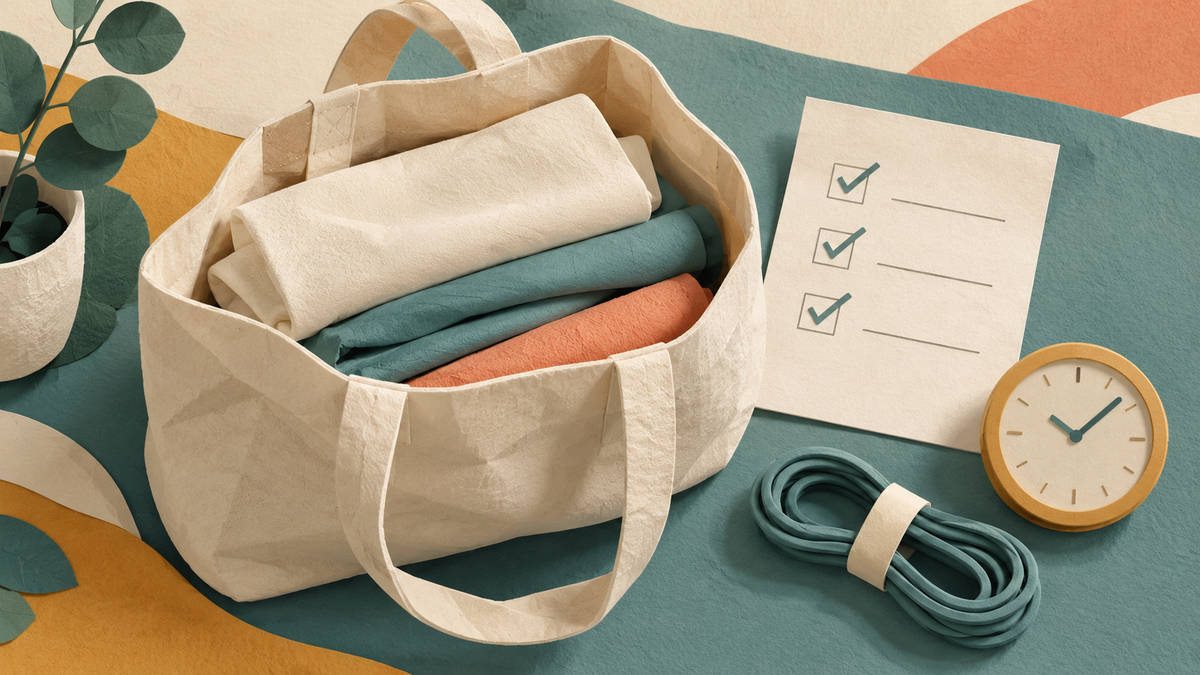
SEGO frames use tool-free connections, but the time and help needed for a complete booth depend on its configuration. A single panel and a multi-panel layout with a bridge, storage area or monitor require different preparation. Use the instructions for your exact display rather than planning around a universal setup-time estimate.
Before the event
- Check the included-components list against the unpacked hardware.
- Identify each panel and match its graphic, frame pieces and power components.
- Read the configuration-specific instructions, including accessory steps.
- Confirm whether lifting or positioning larger components calls for additional help.
- Check the organizer's labor, height and electrical requirements.
Do a complete test setup
Assemble the actual configuration before traveling. Install each graphic, connect the specified power components and check the lighting. Test any monitor or other accessories at the same time. This reveals missing parts, incorrectly matched panels and playback problems while there is still time to resolve them.
Pack for the next person
Label panels, graphics and bags consistently. Keep the instructions available offline and retain a simple layout showing where each panel belongs. Panels can have different widths or heights; labeling all of them as one generic wall makes setup harder.
At the venue
Confirm the booth footprint and outlet locations before assembly. Follow the documented sequence, give the team enough time for inspection and adjustments, and comply with show rules. Tool-free frame assembly does not exempt an exhibitor from venue labor or electrical requirements.
Find the display instructions, review show-day setup planning, or ask LitBlocks about your configuration.

Share:
Make a Big Impact with a Backlit Banner Stand
SEGO vs BrightLine and Casonara Backlit Displays